5 Easy Car Photography Tips: Great Pictures For Used Car Ads

- Name
- Dennis Walsh @lawjolla
- Profession
- Owner, Crosscut
Don’t Miss Our Weekly Posts
We pull back the dealership curtain and help you buy from anyone or anywhere.
Nonsense free.
One click unsubscribe. We passionately protect your data. Privacy Policy
Photos are key for your car or truck ad. Not only do the images create an emotional connection and show the condition, they also show the seller’s competence and seriousness.
Do these pictures make you want to part with $46,500 for his Tacoma?
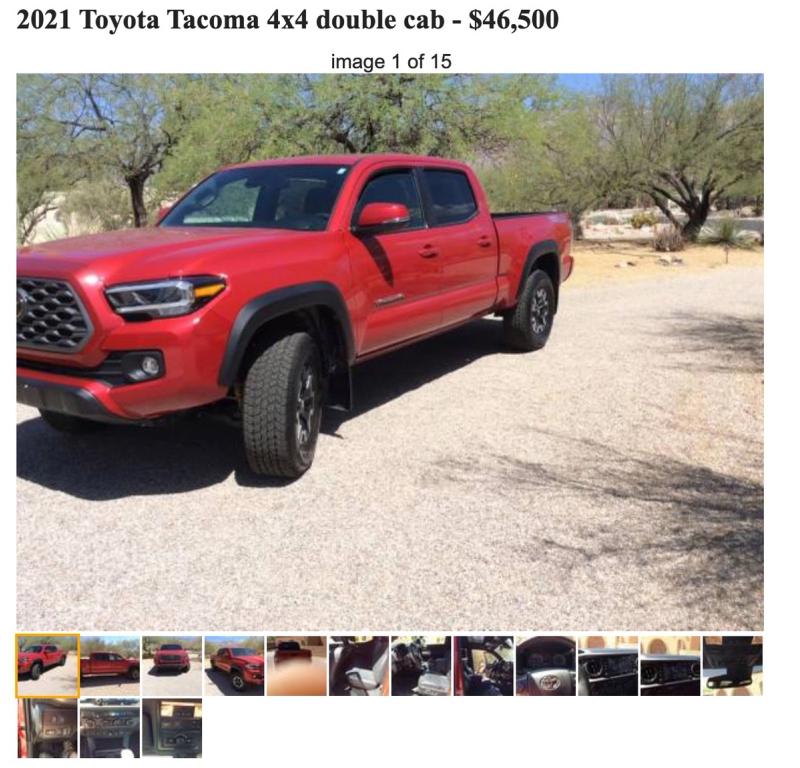
This blog post will help you improve your pictures 100x with 5 simple tips. And at the end, I’ll give my recommendations for the best camera for car photography, best lens for car photos, and I’ll cover phone car shots for those that just want to point and shoot.
Stand Back From the Vehicle and Use a Telephoto or Portrait Lens
The biggest bang for the buck to improve your car pics is zoom in and stand back. Most people use a wide lens and stand next to the vehicle. For example...
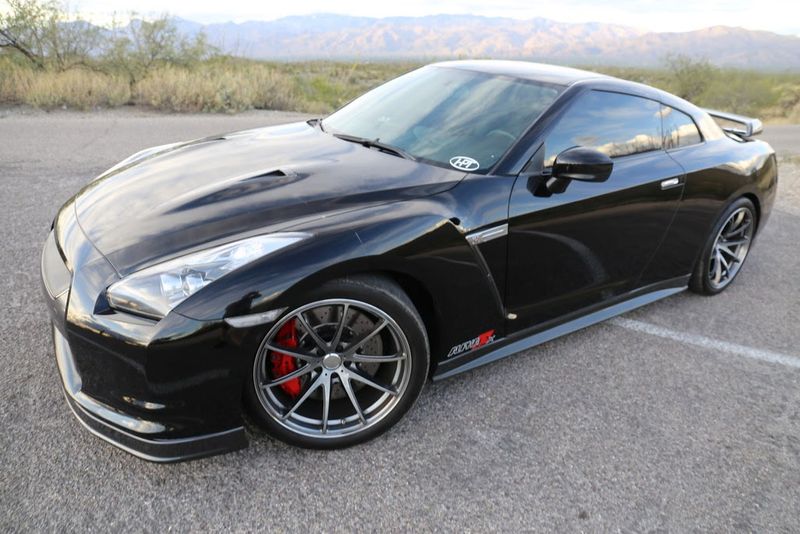
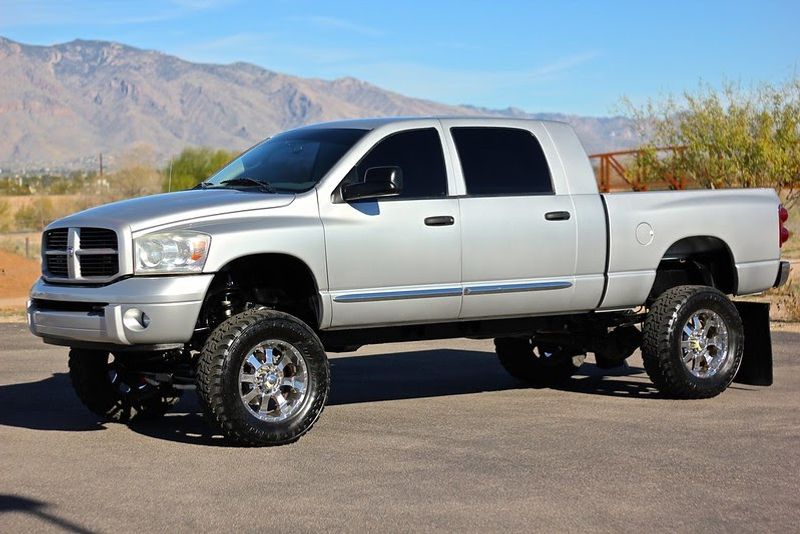
Avoid shooting close. It’s an ok picture, but the car is out of proportion because the lens is too wide. Notice how the front end looks much bigger than the back? It’s a fisheye. Your brain corrects a lot of this picture because you know how a car should look, but it’s not ideal. Contrast it with:
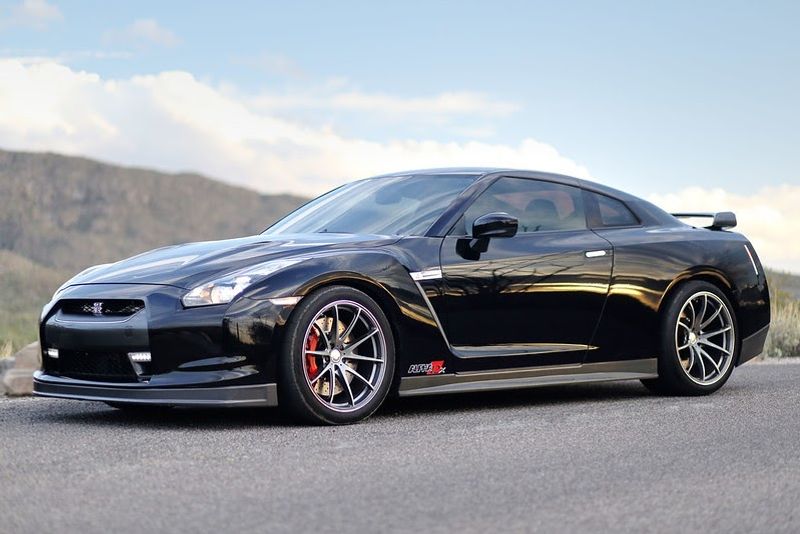
The vehicle remains in proportion by using a narrower lens and staying back. The car is composed and appealing.
You can achieve a similar effect with your phone’s telephoto lens. Use the biggest optical zoom up to 3x, stay low (don’t be at eye level… crouch down to car level or lower), and you'll get a much better` shot!
Automotive photography is best after the “Golden Hour”
Photographers define the golden hour as one hour after sunrise and one hour before sunset. Soft light evens the color with less reflection.
However, because cars and trucks are highly reflective, the flatter light after sunset or before sunrise is preferred. Contrast these two sets of pictures showing daytime versus after sunset. Time of day matters!
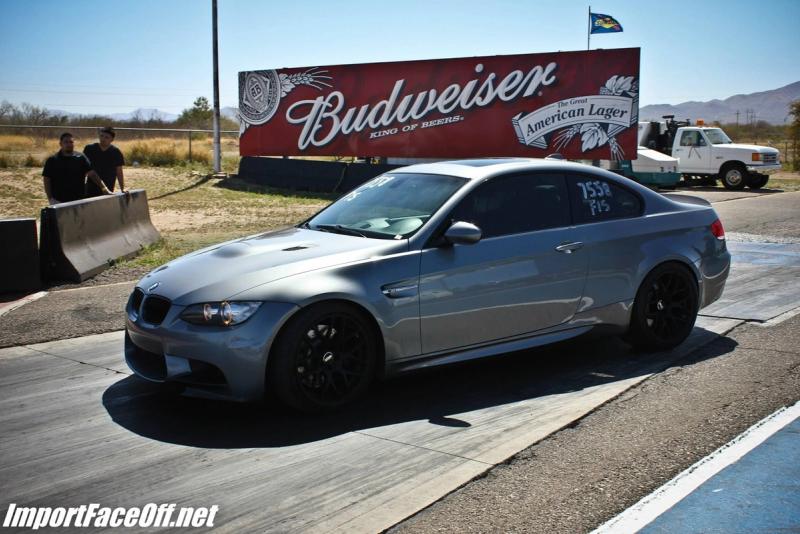
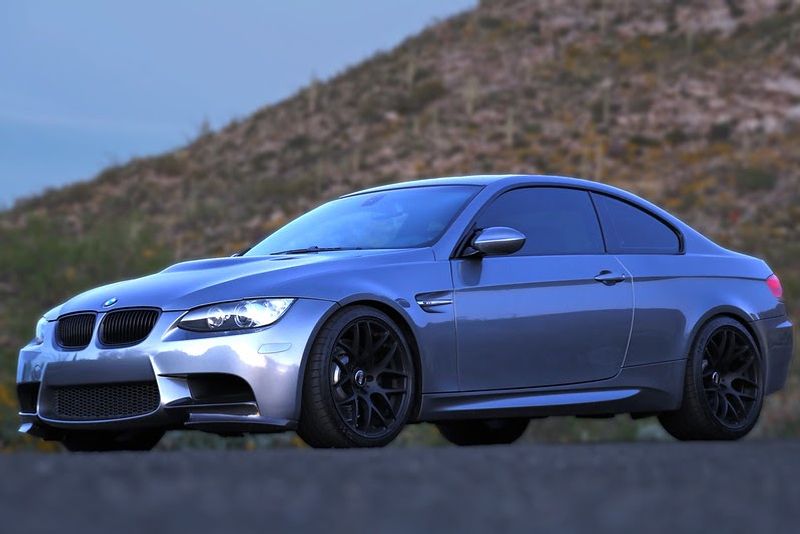
Or…
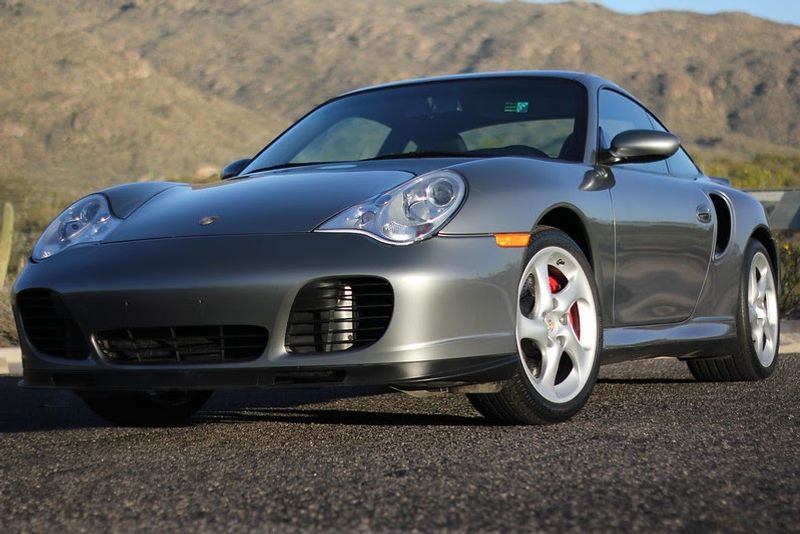
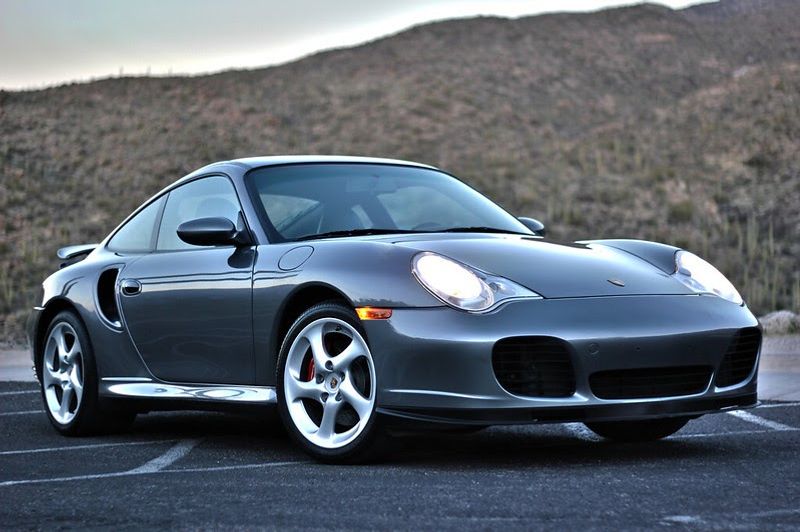
Control Your Car Photo’s Background
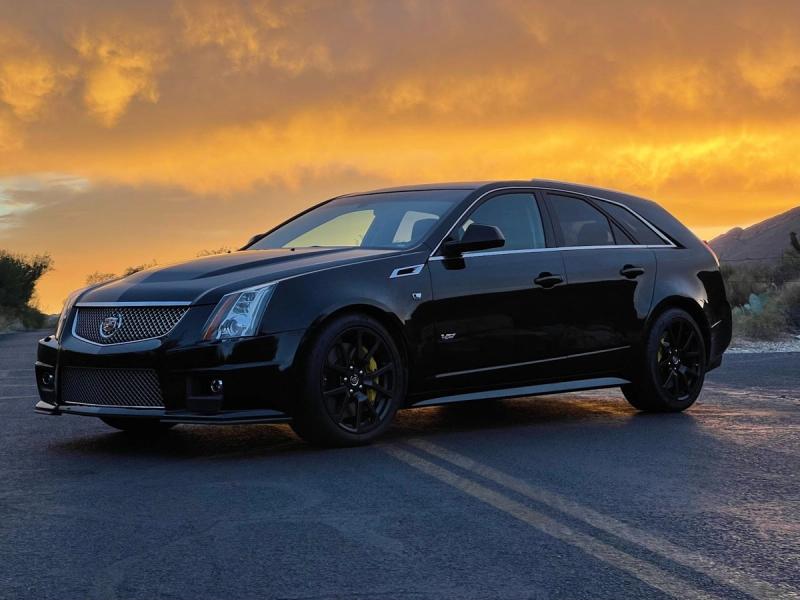
Avoid shooting “lines” coming out of your vehicle, e.g. telephone poles or trees. The simpler the better. A great background controlling hack is to find a sloping road and shoot from below the car into the sky. I used that trick to capture this Cadillac CTS V at sunset..
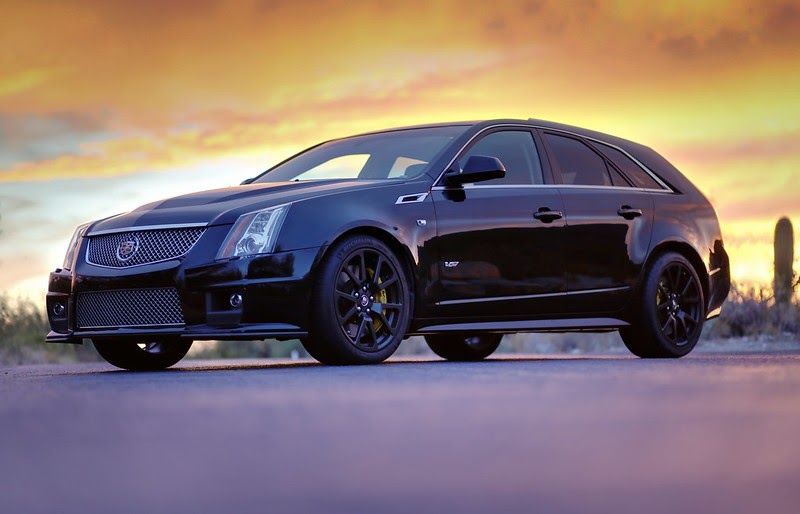
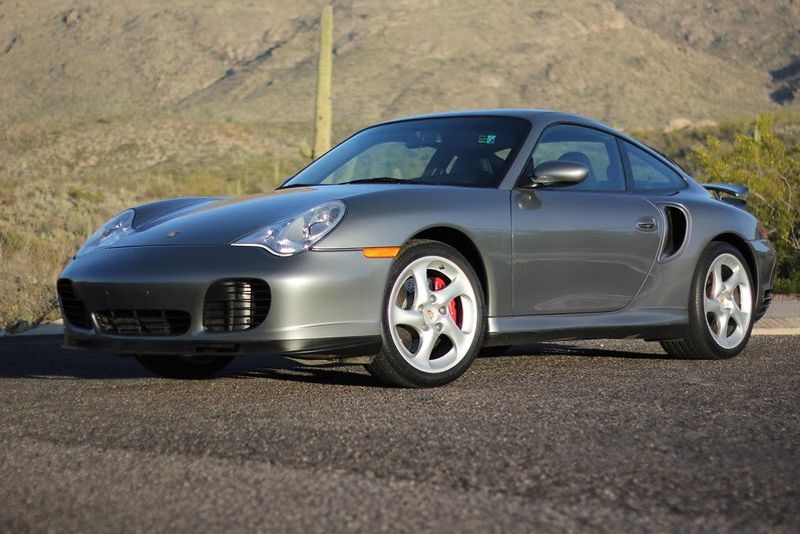
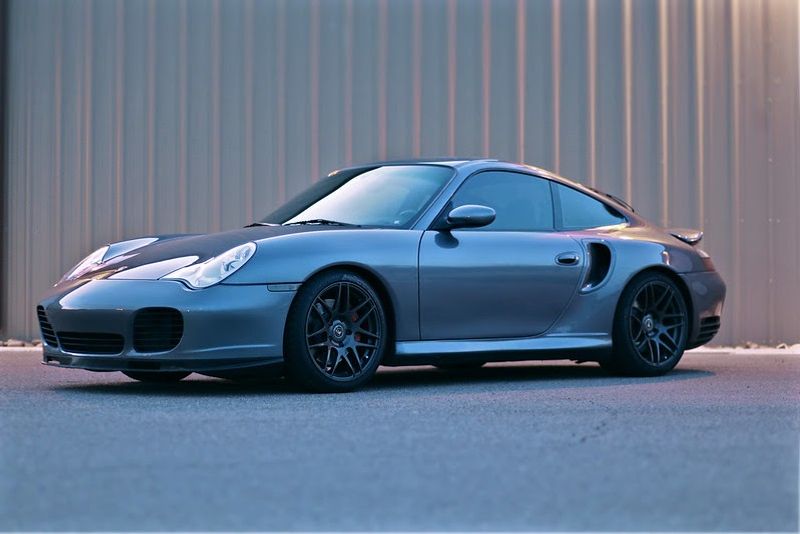
Often, simple warehouses with a nice parking lot also do the trick. It’s preferable to a landscape background with a saguaro going through the car.
Watch Your Car’s Photo Reflections
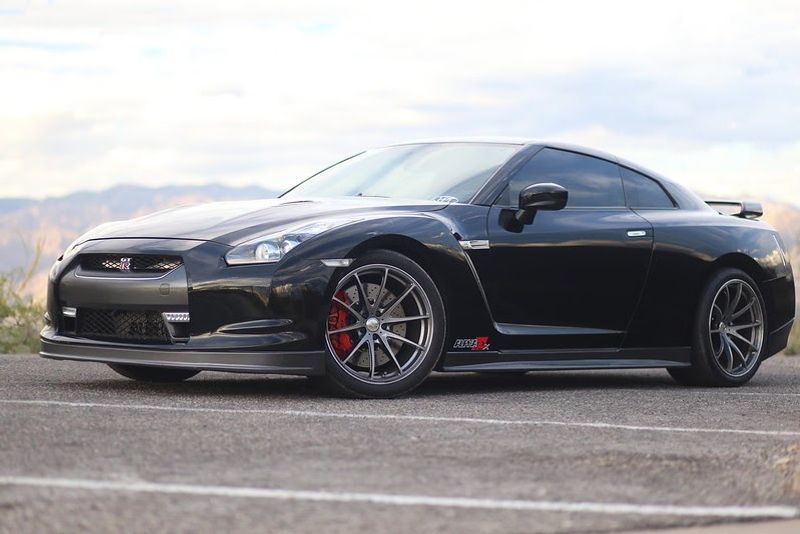
Notice the distracting vehicle reflections in the car shot below. There’s a bumper reflecting landscape, a hood reflecting the bright sky, and the driver side not reflecting much at all. This picture would be 10x better if the vehicle was turned towards the sun so it was illuminated evenly.
Make Your Hero Vehicle Picture a ¾ Shot
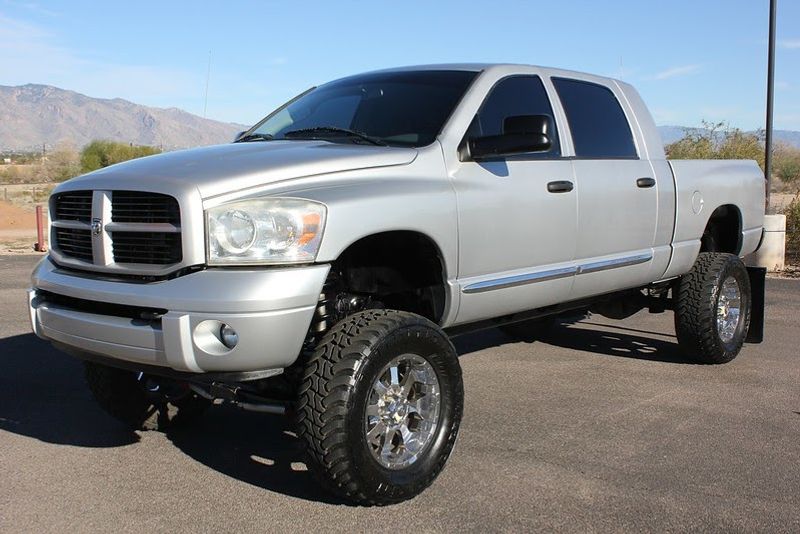
Most vehicle manufacturers shoot “hero” pictures from ¾. You should too. It shows all of the forward body lines and the full, composed design of the car.
I normally establish ¾ by moving from the front to the rear, in a circle, until the passenger headlight or passenger side grill disappears. For most cars, that’s your ideal ¾ shot.
The Best Camera for Car Photography
Camera tech continually changes. Rather than recommending a specific camera body, here’s what you should consider.
- Sensor size. If you can afford a full frame, do it!
- HDR (High Dynamic Range): Good in camera HDR is helpful, especially if you don’t want to composite HDR pictures in post production.
- Mirrorless. This is a hot take that’ll agitate the purists, but mirrorless composite your shot in real time -- the screen shows your final image. That knowledge saves an incredible amount of time and wasted snaps.
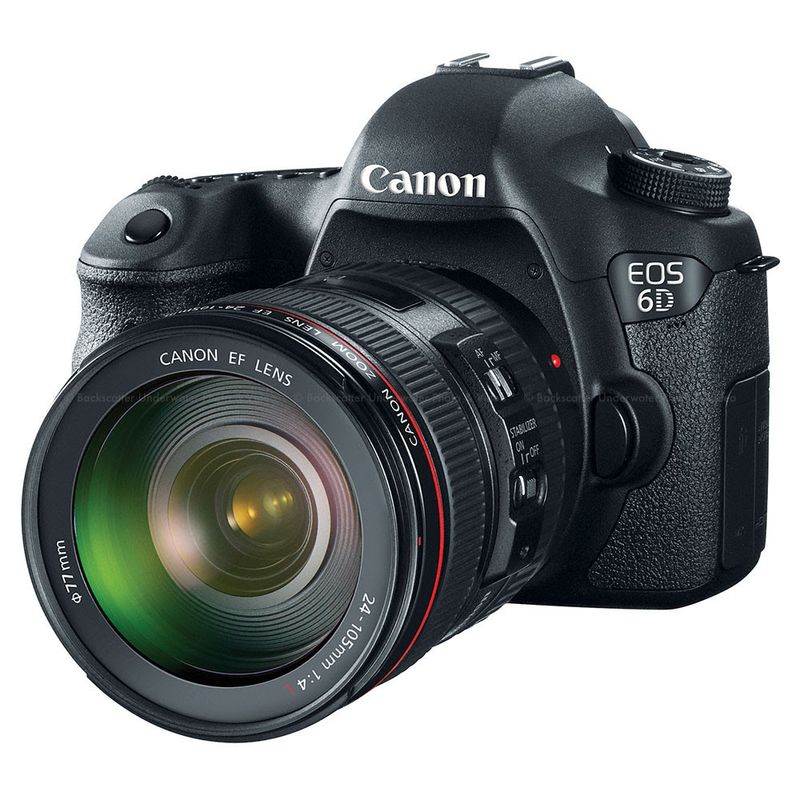
We use a Canon 6D (full frame) and a Sony A6000 (crop sensor, mirrorless). And we’ve recently turned to an iPhone 13 Pro Max for its incredible HDR, wide angle, and computational abilities. It’s not a better hero shot, but it is a better “point and shoot” for bulk photos like stock exterior and interior shots.
The Best Lens for Car Photography
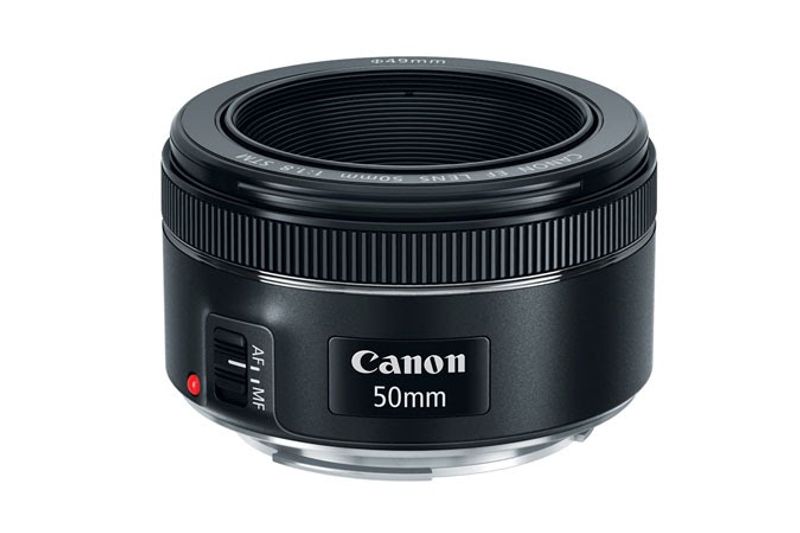
You want a fast prime lens. I recommend at least an f1.8. A fast lens gives a nice shallow depth of field -- the blur behind the vehicle. Turn down the ISO, turn up the aperture (I’m normally shooting f1.8-2.2), and adjust the shutter for the right composition. The fast lens also gives great dusk shots allowing plenty of light to the camera.
The focal length depends on your sensor size. For full frame, we use an 85mm f1.8. Crop sensor is 50mm f1.8. The actual lens depends on your budget.
iPhone / Android Car Photography Tips
Not interested in photography and just want to use your phone? No problem! If possible, use a phone with an optical (not digital) telephoto lens. Somewhere between 2-3x will give you a solid shot and follow the other tips above.
Here’s an iPhone 12 Pro Max vs Canon 6D. You’ll notice the iPhone’s HDR is on another level (the sky is amazing!), but the vehicle isn’t as sharp. You could post-process this image and make it a lot better. Raising the vehicle shadows, blurring the sky, and removing the double yellow line would help this photo.

Share This Article And Your Car Photos With Us!
If you found this blog helpful, we’d love and appreciate the support if you shared this article with your friends (social media share links are above) and send us your new and improved vehicle photos! If you have solid before and after vehicle photos, we’d love to share them on our social media! ❤️
Want to keep up with Dennis's work? Follow Dennis on Twitter →